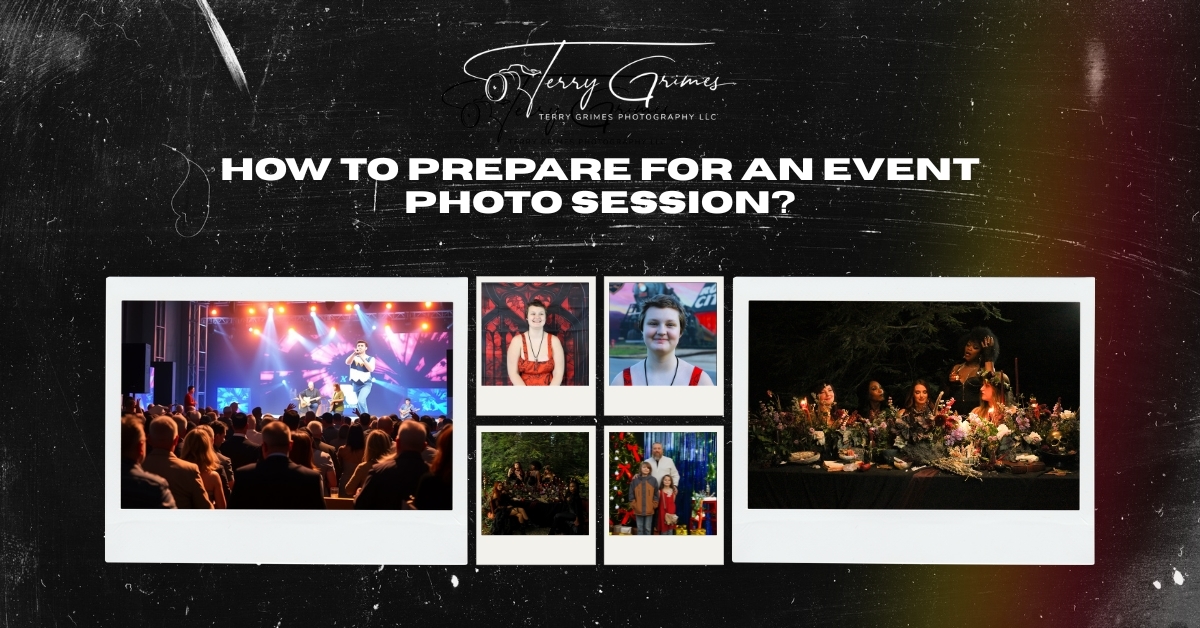
Preparing for an event photo session is mostly about sharing the right details ahead of time. This guide covers what to plan, what to send your photographer, and how to make the photo coverage run smoothly on the day of the event.
Event photography is easier and more effective when the photographer knows what to expect before arriving. The schedule, key people, important moments, venue setup, and photo usage all help shape the coverage.
You do not need to plan every photo. You only need to give your photographer enough information to work efficiently and avoid missing anything important.
If you are planning Event Photography in Rossville, GA, here are the main things to prepare before your event.
Preparing for an event photo session starts with clear planning, thoughtful communication, and knowing which moments matter most. This guide walks you through the key steps to help you with purpose.
Before the event, think about how the photos will be used.
Some events need photos for personal memories. Others need images for marketing, social media, newsletters, press releases, internal reports, or future event promotion.
A business event may need clear photos of speakers, guests, sponsors, branding, and the overall setup. A private event may need more focus on family, friends, candid moments, and group photos.
This helps your photographer understand what to prioritize.
For example, if the photos are mainly for a company website, the photographer may focus more on clean wide shots, branded details, and professional-looking interactions. If the photos are for a private celebration, they may focus more on people, reactions, and smaller personal details.
The purpose does not need to be complicated. A simple explanation is enough.
Send your photographer the event schedule before the session.
This helps them know when important moments will happen and where they need to be at the right time.
Include details such as:
The schedule does not have to be perfect. Events often run early or late. Still, having a general timeline helps the photographer plan their coverage.
If the room will be ready before guests arrive, let the photographer know. That early window can be useful for photographing the venue, tables, signage, sponsor displays, and other setup details before the space gets busy.
A shot list helps your photographer understand your priorities.
It should be clear and realistic. It does not need to include every possible photo.
A useful event shot list may include:
Try to focus on the photos that matter most.
Instead of saying, “Get candid photos,” give a little more direction. For example, you could say, “Please capture guests networking before the program starts,” or “We need photos of the sponsor tables and attendees interacting with them.”
That gives the photographer helpful context without limiting their ability to work naturally.
Your photographer may not know who the most important people are unless you tell them.
Before the event, make a short list of key people who should be photographed.
This may include:
This is especially important for corporate events, nonprofit events, community events, and private celebrations with many guests.
You can also assign someone on-site to help identify people. This person does not need to manage the whole session. They just need to be available if the photographer needs help finding a speaker, sponsor, family member, or group.
It helps to have one main contact person for the photographer on the day of the event.
This should be someone who knows the schedule, the key people, and the general layout of the venue.
The on-site contact can help with:
This keeps the host from having to answer questions throughout the event.
For business events, the contact may be a marketing manager, office manager, event coordinator, or team member. For private events, it may be a family member, friend, or planner.
A clear point of contact makes the day run more smoothly.
Before guests arrive, take a few minutes to check the spaces that will appear in photos.
This does not mean the venue has to look perfect. It just means removing anything that may distract from the final images.
Check areas such as:
Move extra boxes, bags, loose papers, empty cups, cleaning supplies, or visible clutter if possible.
Small adjustments can make the photos look cleaner.
If there is a branded backdrop, make sure it has enough space in front of it. If there are awards or products, place them where they can be photographed clearly.
These simple checks help the photographer work faster once the event begins.
Group photos are easier when they are planned ahead of time.
If you need specific group photos, decide who should be included and when the photos should happen.
Common group photos include:
Avoid waiting until the end of the event if the group photo is important. By then, some guests may have left or may be difficult to gather.
Good times for group photos include:
Keep the list manageable. Too many combinations can interrupt the flow of the event.
If there are details you want photographed, gather or point them out before the event starts.
These may include:
Details are usually easiest to photograph before guests arrive. Once the event starts, tables get used, signs get moved, and items may not stay in place.
For business events, detail photos can be useful for marketing and recap content. For private events, they help document the planning and personal touches.
Your photographer may notice some of these details naturally, but it is still helpful to mention anything that is especially important.
Lighting can affect the way event photos look.
Some venues have bright natural light. Others are dim, have colored lighting, or use mixed indoor lighting. Your photographer can usually work with different conditions, but it helps to know what to expect.
Before the event, mention things like:
Also share any venue rules.
Some venues may have restrictions on flash, movement during a ceremony, access to certain areas, or where photographers can stand.
If the event is outdoors, timing matters. Harsh midday sun, shade, sunset, and evening light all create different conditions. For indoor events, the photographer may need to use flash or adjust their approach based on the room.
Clear information helps avoid surprises.
If there are privacy concerns, tell your photographer before the event.
This may apply to:
If certain people should not be photographed, make that clear. If photos will be used publicly, such as on a website or social media, it may also be helpful to let guests know in advance.
This is not always necessary for every event, but it matters in some settings.
It is better to discuss privacy before the event than after the gallery is delivered.
Let your photographer know where the photos may appear after the event.
This helps them capture a better mix of images.
Photos may be used for:
For example, a website may need horizontal images with clean space for text. Social media may need vertical photos. A press release may need clear images of speakers, leaders, or key moments.
When your photographer knows how the images will be used, they can plan for more useful variety.
This is especially helpful for businesses booking Event Photography in Rossville, GA, where the photos may support marketing, branding, and local visibility after the event.
A simple email can cover most of what your photographer needs.
Send these details before the event:
 Event dateVenue name and addressParking or access instructionsPhotographer arrival timeEvent start and end timeEvent scheduleShot listKey people listGroup photo requestsOn-site contact name and phone numberImportant details to photographVenue restrictionsPrivacy concernsPhoto usage needs
This does not need to be a long document. Clear, organized information is enough.
The goal is to help your photographer arrive prepared.
When the photographer arrives, give them a quick walkthrough if possible.
Show them:
Introduce them to the on-site contact person. Mention any schedule changes or last-minute updates.
After that, let the photographer work.
You do not need to guide every photo. If the preparation has already been done, the photographer can follow the schedule, watch the room, and capture the event naturally.
A few common issues can make event photography harder than it needs to be.
Without a timeline, the photographer may not know when important moments are happening.
A list that only says “take photos of everything” does not give much direction.
A long, strict shot list can interrupt the event and make the coverage feel less natural.
The photographer may not recognize speakers, sponsors, executives, or family members without help.
Group photos become harder later in the event, especially when guests start leaving.
Rules about flash, access, or movement can affect the photo coverage.
If anyone should not be photographed, the photographer should know before the event begins.
Usage matters. Website, social media, press, and internal photos may require different types of images.
Before your event, make sure you have:
These steps are simple, but they can make a noticeable difference in the final gallery.
Preparing for an event photo session does not need to be complicated.
The most helpful things you can do are share the schedule, identify key people, prepare a short shot list, and explain how the photos will be used. These details help the photographer work more efficiently and cover the event with fewer interruptions.
If you are planning an event in Rossville, GA or the surrounding area, Terry Grimes Photography LLC provides professional Event Photography in Rossville, GA for business events, private gatherings, community events, and special occasions.
Reach out to discuss your event schedule, photography needs, and the key moments you want covered.
